
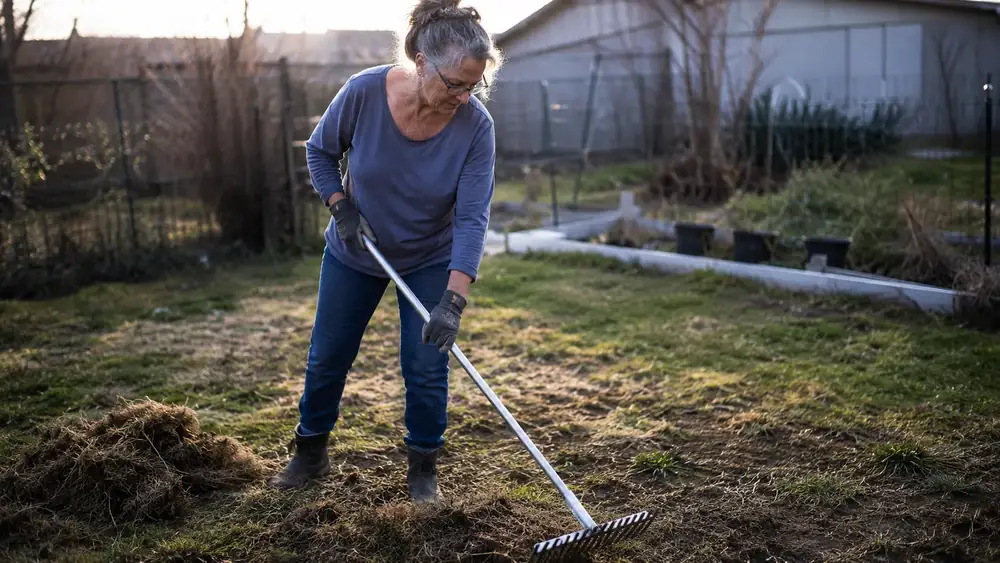
You know the spot. Every yard has one. A low patch by the downspout that turns into a puddle every time it rains, a high hump where the kids used to slide into the flowerbed, a bald stretch by the fence where grass just gives up every August. I stared at three of those spots in my own backyard for two summers before I finally dealt with them, and the tool that fixed all three wasn't a rented power dethatcher or a call to the lawn service down the road. It was a Walensee bow rake, the kind with the heavy steel head and tines on one side, flat bar on the other, and I want to walk you through exactly how I use mine to level soil and clear out thatch before seed or sod ever touches the ground.
A lot of people jump straight to buying seed or sod and skip the part that actually determines whether it takes. If you scatter grass seed over lumpy ground with a thick mat of dead thatch sitting under it, the seed either washes into the low spots, dries out on the high spots, or never even reaches soil because it's sitting on a layer of dead grass instead. Leveling and dethatching first is the boring, unglamorous work that makes everything after it actually succeed. And a bow rake handles both jobs, which is the part most people don't realize until they've already rented a machine they only needed for forty-five minutes.
The false choice most homeowners get talked into is renting a gas-powered dethatcher for the weekend or paying a crew a few hundred dollars to come do this once and disappear. Both work, sure. But for anything short of a full acre, a bow rake does the same job, doesn't run out of gas halfway through, and lives in your shed ready for the next time a low spot shows up. This is the tool I reach for every single spring.
Get the One Tool That Does Both Jobs Before You Start
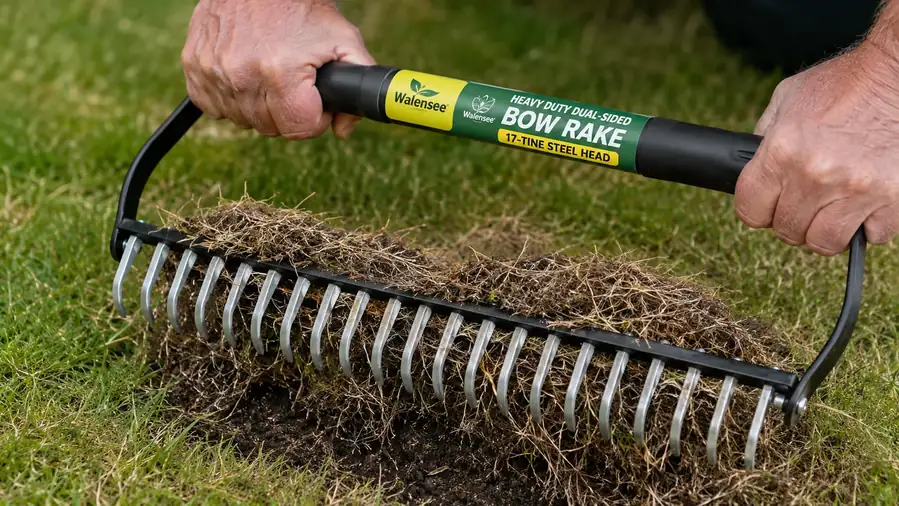
You don't need two separate tools for this. The Walensee bow rake has a 17-tine steel head on one side for tearing up thatch and breaking up compacted dirt, and a flat bar on the other side for dragging soil smooth and level. The 63 inch stainless steel handle means you're not hunched over the whole afternoon, which matters a lot more than it sounds like once you're an hour into a big patch.
Amazon Check Today's Price on Amazon →Step 1: Mow Low and Pull Up the Dead Thatch Layer
Start by mowing the area lower than usual, closer to an inch and a half, so you can actually see the ground and the thatch layer sitting on top of it instead of hidden under taller grass. Thatch is that spongy brown layer of dead grass stems and roots that builds up between the soil and the green blades, and a little bit is normal and even healthy, but more than about half an inch starts choking out water, air, and any new seed trying to get down to soil. Press your finger into the lawn near one of your problem spots. If you feel a springy mat before you hit actual dirt, you've got thatch worth removing.
Timing matters here too. Early spring, right as the grass starts greening up, or early fall once the worst summer heat has broken, are the two windows where a lawn recovers fastest from a hard raking. Doing this work in the middle of a July heat wave stresses grass that's already struggling to stay alive, and you'll spend the rest of the summer nursing bare patches instead of enjoying them filled in. I mark this on my calendar the same week I get my seed order in, so I'm not scrambling to find a free Saturday once the ground is already too dry to work.
Turn your bow rake to the tine side and drag it across the lawn with firm, short strokes, the same motion as raking leaves but with more downward pressure since you're pulling up a mat, not loose leaves. Work in one direction across the whole area, then go back over it a second time at a slight angle to catch what the first pass missed. You'll pull up a surprising amount of brown, matted debris, and that's the point. On my worst patch, out by the mailbox where the dog runs the same path every day, the pile of pulled thatch was almost knee high before I was done with a ten by ten section.
Rake the debris into a pile as you go rather than leaving it scattered, and haul it to the compost or yard waste bin before you move to the next step. Leaving thatch sitting on the surface defeats the purpose since it just settles right back down and blocks the same light, air, and water it was blocking before you pulled it loose.
Step 2: Break Up the High Spots and Any Compacted Ground
With the dead thatch cleared off, you can actually see and feel where the ground is uneven. Walk the area slowly, and where you find a hump or a hard, compacted patch, flip the bow rake back to the tine side and work the steel points into the surface, dragging them through in short back and forth passes to break the crust loose. Compacted soil, the kind you get from years of foot traffic or a dog running the same path, won't take seed well no matter how flat you make it, because water can't soak in and roots can't push down.
This is where the weight of a solid steel head earns its keep. A flimsy rake just bounces off compacted dirt. The heat-treated manganese steel head on the Walensee digs in and actually loosens the top inch or two instead of skating across the top, which is the difference between prepping the ground and just cosmetically fluffing it. The wide spacing between the 17 tines also matters more than people expect on a bigger job, since a narrower, closer-set head clogs with debris every few feet and you end up stopping constantly to clear it out.
Step 3: Drag the Flat Side to Level the Soil
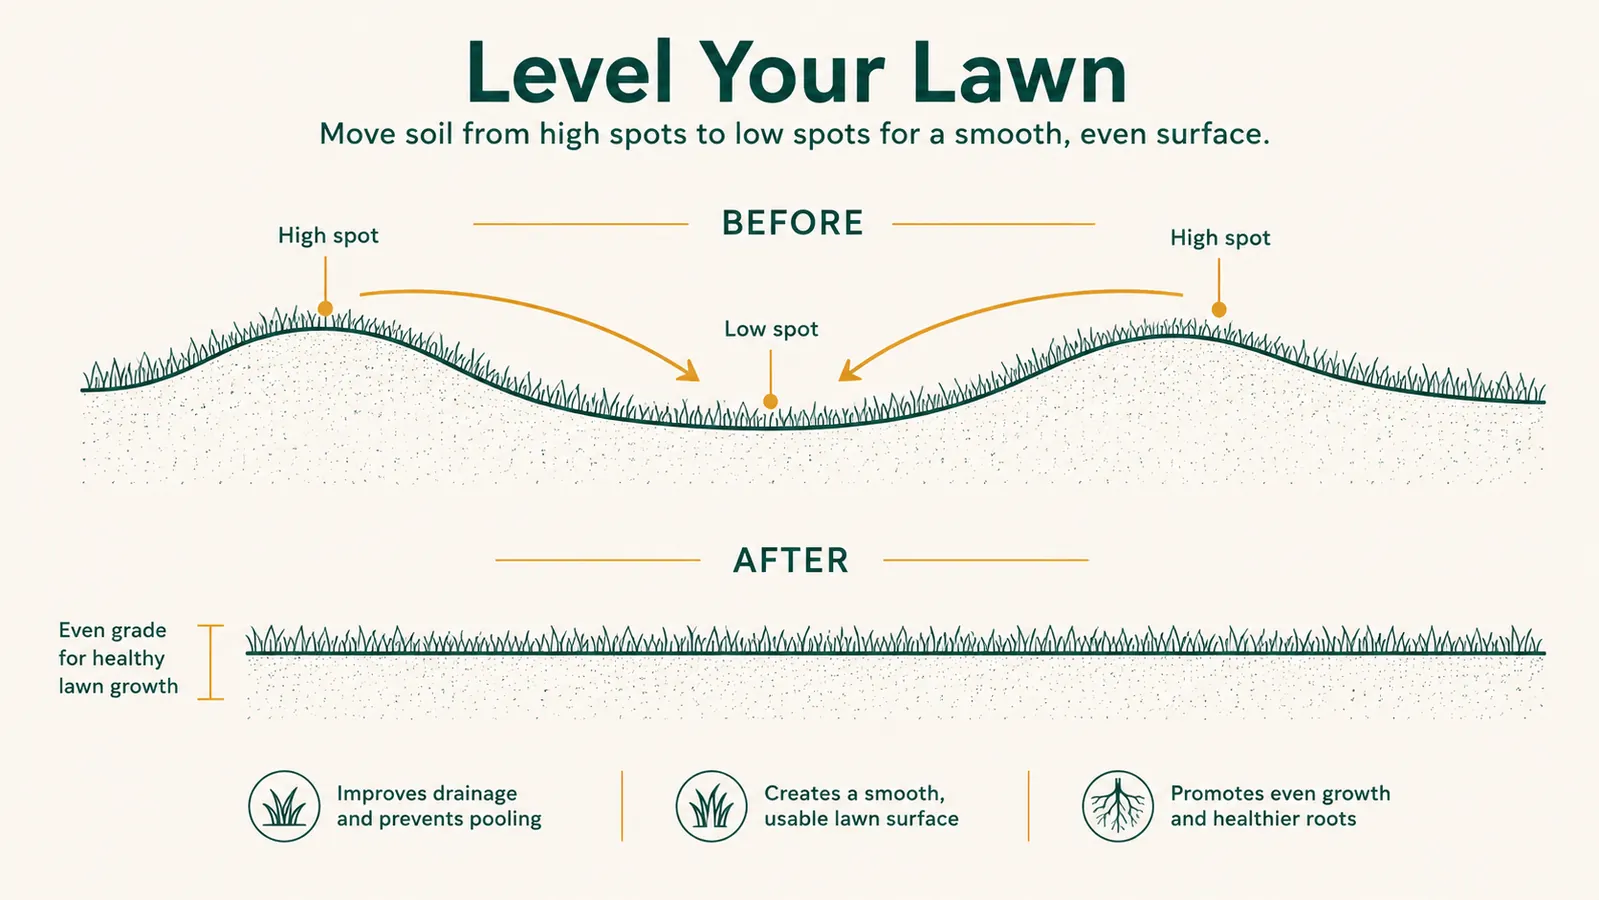
Now flip the head over to the flat bar side. This is the part most people skip entirely, and it's the whole reason a dual-sided bow rake beats a plain leaf rake for this job. The flat edge acts like a small grading blade, pulling loose soil off the high spots and dragging it into the low ones. Stand at one edge of the area and pull the rake toward you in long, even strokes, letting the flat bar skim the surface rather than digging in.
Soil moisture makes a real difference here. Bone dry soil is dusty and hard to move in a controlled way, and soaking wet soil clumps and smears instead of dragging smooth. A day or two after a light rain, once the ground has dried enough that it isn't sticking to your boots, is the easiest window to work in. If you're relying on a hose to get there, water the area the evening before and let it sit overnight rather than trying to level it while it's still soaked through.
Work from the high spots toward the low ones on purpose. If you've got a hump by the walkway and a dip six feet away where water pools, drag soil from the hump directly toward the dip rather than raking randomly. It takes a few passes to see real movement, so don't expect one drag to fix a season of unevenness. I usually go over a problem area three or four times from different directions, checking after each pass.
For dips deeper than about an inch, don't try to fill them entirely by dragging existing soil around. You'll thin out the surrounding area too much. Bring in a few shovelfuls of topsoil to fill the low spot most of the way, then use the flat side of the bow rake to blend the new soil into the surrounding grade so there's no obvious seam or edge.
Step 4: Check Your Grade Before You Commit to Seed
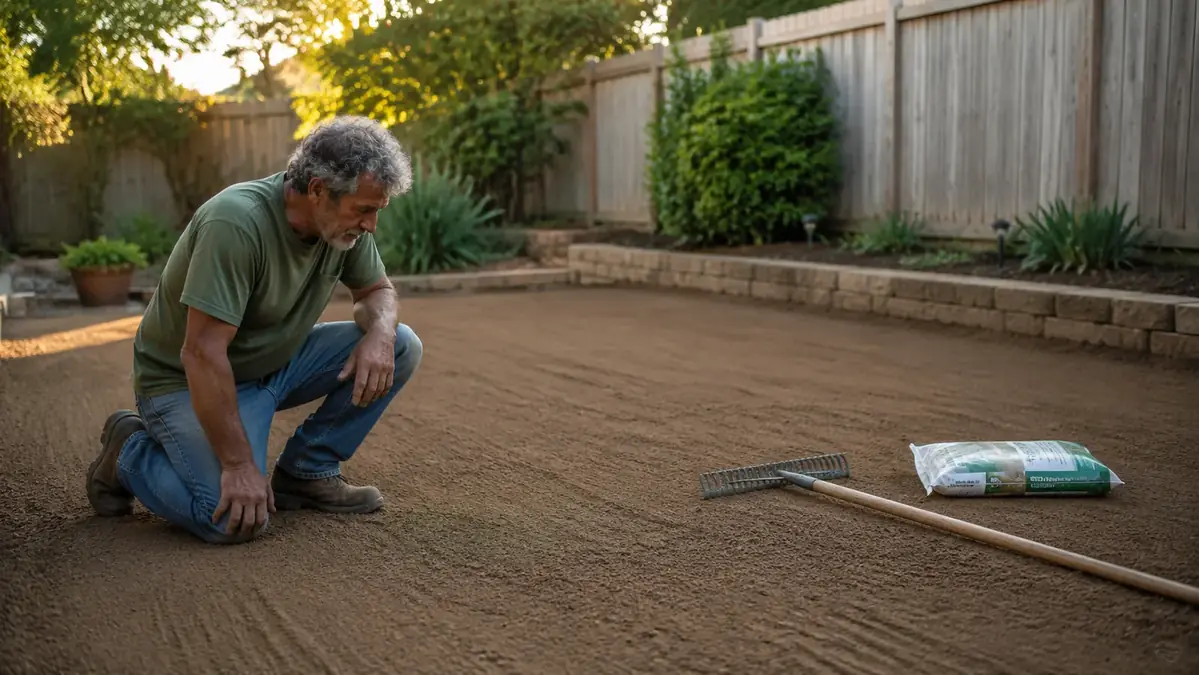
Before you call it level, actually check it. I lay a straight 2x4 across the area and look for gaps underneath, or I just walk it slowly in socks, since bare feet find every hidden dip and hump a lot faster than eyes do. Any spot where the board rocks or your foot catches an edge needs another pass with the flat side of the rake.
Pay extra attention to drainage while you're checking. The lawn should have a gentle, even slope away from the house foundation, not toward it, and away from any low collection points where water already tends to sit. If you find a spot that's technically flat but still traps water after rain, it needs a slight grade built in, not just leveling, and the flat side of the bow rake handles that just as easily as flattening a hump does.
Step 5: Firm the Bed and Get Seed or Sod Down While the Soil Is Ready
Once the grade looks right, walk over the whole area to lightly firm the soil, or roll it with a lawn roller if you have one, so it isn't so loose that seed washes away in the first hard rain. You don't want it packed hard again, just settled enough that footprints leave a shallow mark instead of sinking an inch.
This is also the moment to get your seed or sod down, because freshly leveled, dethatched soil doesn't stay in this ideal state forever. Rain compacts it, wind blows loose topsoil around, and if you wait two weeks the ground will need another light pass with the rake before seed actually takes. I treat leveling day and seeding day as the same day whenever the weather cooperates. Spread seed at the rate the bag recommends, then use the flat side of the bow rake one more time, very lightly this time, just to work the seed into the top quarter inch of soil so birds don't pick it clean overnight.
A lawn that's uneven for five years didn't get that way overnight, and it doesn't get fixed by scattering seed over the same lumps and hoping this time is different.
What Else Helps
A bow rake handles the bulk of leveling and dethatching, but a couple of other things make the results last. Water newly seeded areas lightly once or twice a day rather than one heavy soak, since a light, frequent schedule keeps the top layer of soil moist without washing your freshly leveled grade back into the low spots. If your lawn tends to get compacted again fast, usually from foot traffic or clay-heavy soil, a core aerator once a year before you dethatch makes each future bow rake session noticeably easier, since the ground is already loosened before you even start. And keep the rake itself clean. I hose mine off and let it dry before it goes back in the shed, since caked-on wet soil left on steel tines overnight is how a good tool starts rusting before its time. A quick wipe with a little machine oil on the steel head before winter storage keeps it from pitting over a damp winter too, and it means the tines are just as sharp and effective the next time a low spot shows up.
Don't Reseed Another Season Over the Same Lumps
If you've got low spots that puddle and high spots that scalp under the mower every summer, this is the week to fix it, not next spring. The Walensee bow rake handles the thatch pull, the grading, and the final seed-in with one tool, and the steel handle holds up to real yard work instead of bending the first time you lean into a compacted patch.
Amazon Check Today's Price on Amazon →